
- August 1, 2026
- By Rimsha Umer
- In Car Glass Repair, Car Glass Replacement, car Glass Replacement, Diagnostics
- Tags Side window replacement
- 82
- 0
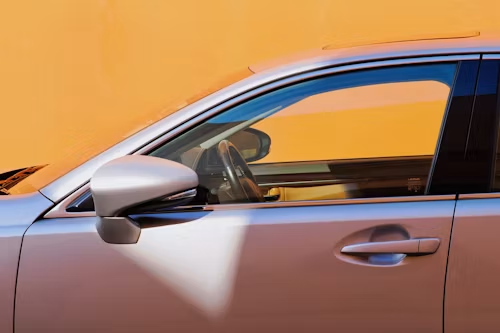
This is a nightmare scenario when a side car window is broken. Rain gets in. Your car isn’t secure. You feel exposed. Fortunately, here is the good news. All you need to know on side window replacement side window replacement. It’s possible to do it safely with the right tools and patience. This book explains each and every step clearly and concisely.
 There are numerous reasons why side windows break. A rock hits it. Someone breaks in. An accident happens. Cracks can form due to extreme temperatures. In any case, the solution is the same. You require new glass installed in a proper and timely fashion.
This is the first question that you should ask yourself. DIY is cheaper. Requires time and energy. A professional is more expensive but will get the job done quicker. If you know how to use simple tools, do it yourself! If the window contains complicated electrical components such as auto up/down motors, it may be best to call in a pro.
Before beginning, put everything together. Running up and down is time consuming and demoralizes you.
 Let’s take a look at the process now. Do each step of the instructions thoroughly. Don’t rush anything.
Wear safety gloves. Use your goggles as well. Glass is broken and can be hazardous. Little bites can be big bites. Don’t skip this step.
Start from outside the car. Secure loose pieces together with tape. This helps them not to take a fall everywhere. Apply pressure to the rest of the glass gently, pushing them inwards. Gather up all pieces in a bag. Suck up little bits with your vacuum cleaner. Inspect interior and door frame thoroughly. Glass is used in the “nooks and crannies.”
If not finished today, cover window opening. Cover with plastic sheeting and tape. This will prevent water from entering and dust accumulating. It also helps to protect your car a bit while you are sleeping at night.
This step is required for side windows that have a door frame. Take advantage of your trim removal tool. Carefully pop off the door panel clips. Generally these are located on the perimeter. Don’t yank hard. Slowly go around the whole panel. First, take out any screws. Place the panel out of the way safely.
The window regulator secures the glass to the window. It is used to interface with the motor to drive power windows. Find bolts securing old glass to the regulator. Always use the proper screwdriver or socket wrench. Carefully take off those bolts. Store them in a secure location. You will need them sometime again.
Rubber seals may be used on some windows. Others use adhesive. If it has a rubber seal, gently pull the window from the seal. If it has glue, use plastic scraper to peel off old glue. Thoroughly clean the area. Any remaining adhesives create issues with the new glass.
Carefully remove the new replacement glass. Use both hands to handle it. Make sure it’s the same size as the previous window. Check the size. Look for any holes or places to attach that might have been drilled beforehand. Clean both sides with window cleaner before installing.
Next, replace the new glass. If the window is in place, refresh the adhesive around the frame before using it for the fixed window. Apply even and firm pressure to the glass. Squeeze it for a couple of minutes. Align the bolt holes for windows that have regulators. Re-tighten the bolts tightly but not over-tight.
Put back any electrical plugs that are removed. Carefully reattach the door panel. Hold it down in the clips. Replace all screws. Now test the window. With power windows, push the button down gently. Observe the motion of the glass. Look for any mismatch or gaps.
Thoroughly clean the new glass. Wipe down for any fingerprints or smudges. Inspect around the entire area of the seal. Ensure there are no gaps or overlaps. Test for air leaks around the frame by running your hand around it. If all of the above is fine then you are finished.
When buying glass always purchase OEM or quality aftermarket glass.
When doing it yourself, the only thing you really spend is on the glass. That costs from $50 to $200, depending on the vehicle. The average side window replacement price ranges from $150 to $400 for professional window replacement. It could be covered by insurance with comprehensive coverage.
Installing a new window in a side window doesn’t need to be daunting. It can be done easily with the proper equipment and the following step-by-step procedure, and without spending a lot of cash. Slow down and take a leisurely pace for each step. Safety comes first. Don’t hesitate to hire a professional if you feel uncertain at any time. In any case, your vehicle will be secure, protected and normal in a flash.
Q: How long does side window replacement take?
A: DIY takes 2 to 4 hours. A professional finishes in under 2 hours.
Q: Can I drive with a broken side window?
A: Not safely. Cover it temporarily and fix it as soon as possible.
Q: Does insurance cover side window replacement?
A: Yes, if you have comprehensive coverage. Check your deductible first.
Q: Where can I buy replacement side window glass?
A: Auto parts stores, online retailers, or dealerships carry them.
Q: Is side window glass tempered?
A: Yes. Side windows use tempered glass that shatters into small safe pieces.


