
- August 1, 2026
- By Rimsha Umer
- In Car Polish, Car Tint
- 112
- 0
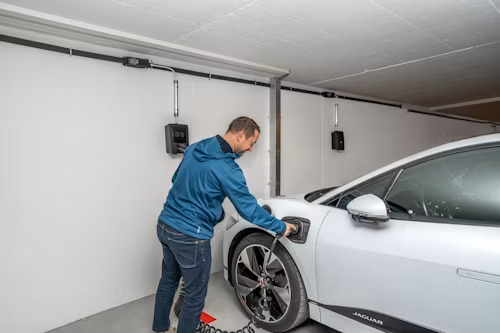
Cars with no shine will always appear worn out. However, it can become costly to take it to the detailing shop every time. Fortunately, you can do this on your own. Polishing a Car at Home is not as difficult as it may seem. The facade can be restored to its former glory without spending too much money or too much time with the right tools and a little patience. This guide will help you through everything step-by-step.
 Many motorists don’t bother polishing since they believe it requires special skills. It does not. Polishing at home is cost-saving! It allows you to control the contact of paint with other products as well.
Here are some of the reasons to do it yourself:
After you become familiar with how to polished a car at home, then you don’t have to miss out again.
A toolbox full of the necessary instruments is very helpful in the beginning. The only thing you need is some fancy equipment. For most jobs basic supplies are sufficient.
Here are some items to collect:
Optional but helpful:
Don’t polish a dirty car. Dirt and dust are like sand paper. Rubbing a surface that is already dusty will result in more scratches.
Wash the car this way:
This two-bucket method minimizes additions of new swirl marks while washing. This is a small step, but it’s a huge step.
After drying, take a close look at the paint. Do this in a well-lit area or outdoors in the daylight.
Look for:
Smoothly stroke the surface with your fingers. Use a clay bar first, before polishing, if the paint is rough or gritty. A clay bar removes very small particles that are embedded in the paint. It produces a smooth surface, suitable for polishing.
This inspection step can assist you in determining what to concentrate on. You will know how to properly polish your car at home if you know the paint condition.
If using polish, protect any plastic trim, rubber seals or unpainted areas. These surfaces may stain and leave behind a visible whitish film that is difficult to clean with Polish.
Use masking tape to cover:
This little preparatory task saves lots of cleaning in the future.
The main work is now underway. This is the essence of at home car polishing. Work on one section at a time. Don’t attempt to buff the whole vehicle at a time.
Follow these steps:
Repeat this process for each panel. Take your time Too fast equates to inconsistent results.
Use these tips for machine polishing:
If you are using a dual action polisher:
Machine polishing is faster and gives more consistent results. However, hand polishing is a safer option for beginners.
Polish each section and then step back and look. Look at the paint in various directions. Search in direct sunlight or under the light of a garage.
You should see:
If there are still some dull spots, polish again and rub a little longer. On very faded paint, it may be necessary to repeat the process.
Polishing takes off a very thin layer of clear coat. This leaves the paint now exposed. If wax or sealant is used, it will coat the surface again.
Apply wax this way:
Wax is protecting the paint from UV rays, rain and dust. It also helps to enhance the shine of the product. Always do this after polishing.
Simple tasks fail when rushed or steps are missed.
Watch out for these mistakes:
All of these errors can cause marks or diminish the final shine. Be sure to take your time and follow each step correctly.
 It’s not necessary to polish each month. For the majority of vehicles, two cleanings per year is sufficient. Only polish when paint begins to show swirl marks, dullness or light scratches. If the car still looks shiny, wax it, and forgo on polish for now.
The same way that you need to know how to polish a car at home, you also need to know when not to polish a car at home. Clearing coats will wear out over time with over polishing.
With the correct approach, car detailing at home is simple. Wash first. Inspect the paint. Protect trim. Do the polish job piece by piece. Wipe clean. Finish with wax. These steps are simple to take and effective to use.
The answer to “How to Polish a Car at Home?” does not require any special skills or costly equipment. Patience, correct products and some time are required. After you try it, you’ll know the difference a good polish can make. You will save money, while your vehicle looks cleaner, shinier and better maintained.
Is it possible to use a car safe polishing kit?
Yes. Light marks and maintenance is better suited to hand polishing.
Home polishing should take approximately 30 minutes
Typically takes 2 to 4 hours, depending on the size of the car and its paint condition.
What kind of cloths to use to polish?
For optimum results, use a clean soft microfiber cloth.
Is it possible to put on a shine to a new car?
Yes, but if there are swirls or dullness in the paint.
If you have just finished polishing, do you need to wax?
Yes. The paint is also protected by wax and remains shiny for longer.


